Not all puzzles are glued the same way. A flat scenic puzzle needs a different approach than a functional 3D kinetic model. Let's match your specific situation to the right method, so you can proceed with confidence.
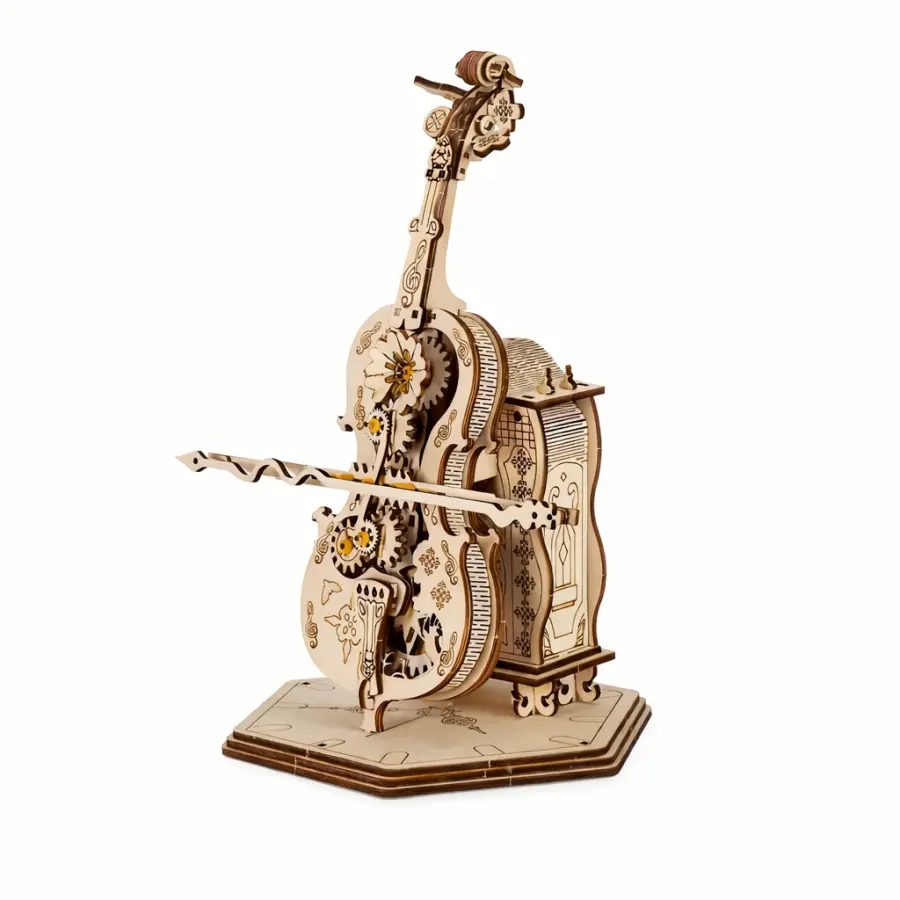
Scenario 1: 'My First Masterpiece' (The High-Anxiety First 3D Model)
This is you with the 3D Wooden Cello on the table, heart pounding. Action Plan: Use a premium, water-based PVA wood glue. Apply dots of glue to the connecting tabs inside the structure where it won't be seen, using a toothpick for control. Wipe any excess immediately with a barely damp cloth. Your goal here is structural integrity, not sealing the surface. For a complete walkthrough, follow our complete step-by-step gluing guide.
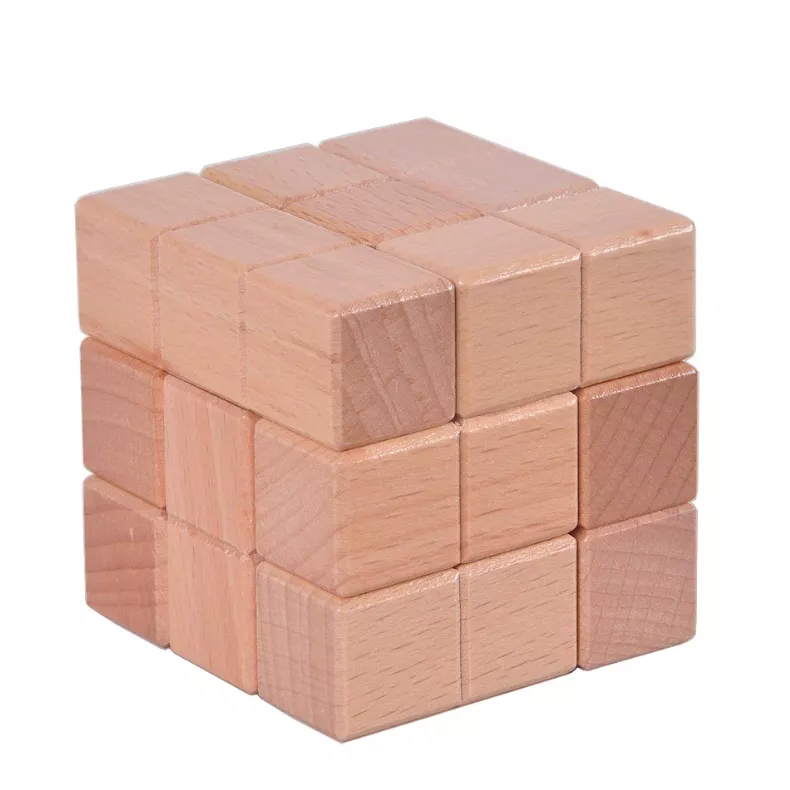
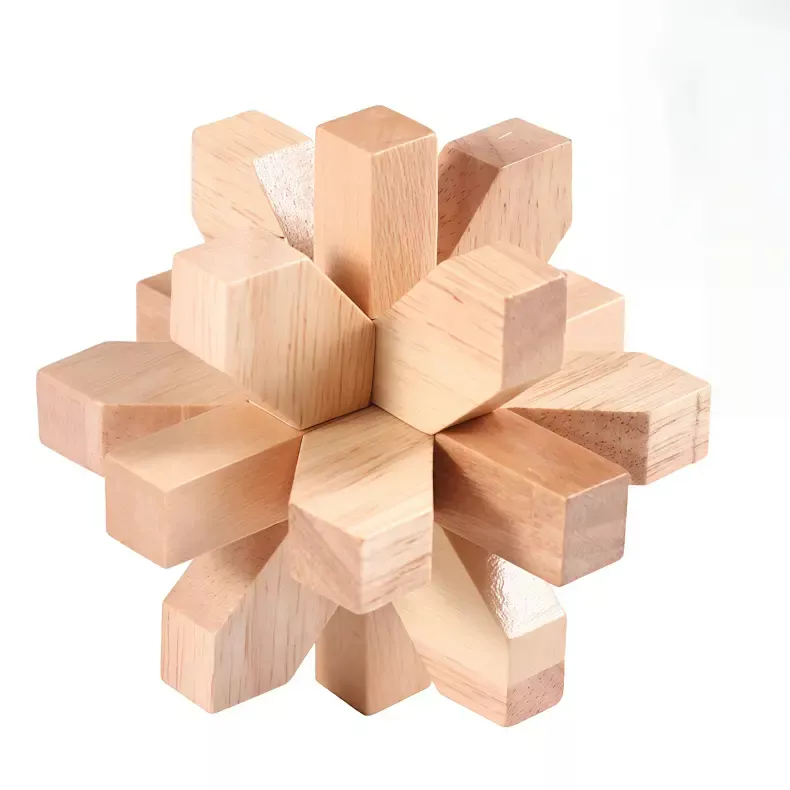
Scenario 2: 'The Collector's Showpiece' (Intricate Burr & Lock Puzzles)
You've conquered a Luban Cube or Plum Blossom Lock and want it displayed, solved, forever. Action Plan: Glue is often optional here, as the fun is in the solve. If you must, use a tiny drop of thin CA glue on a single, critical interior joint only. Better yet, display it on a stand in its solved state. The beauty is in the mechanism, not a permanent bond.
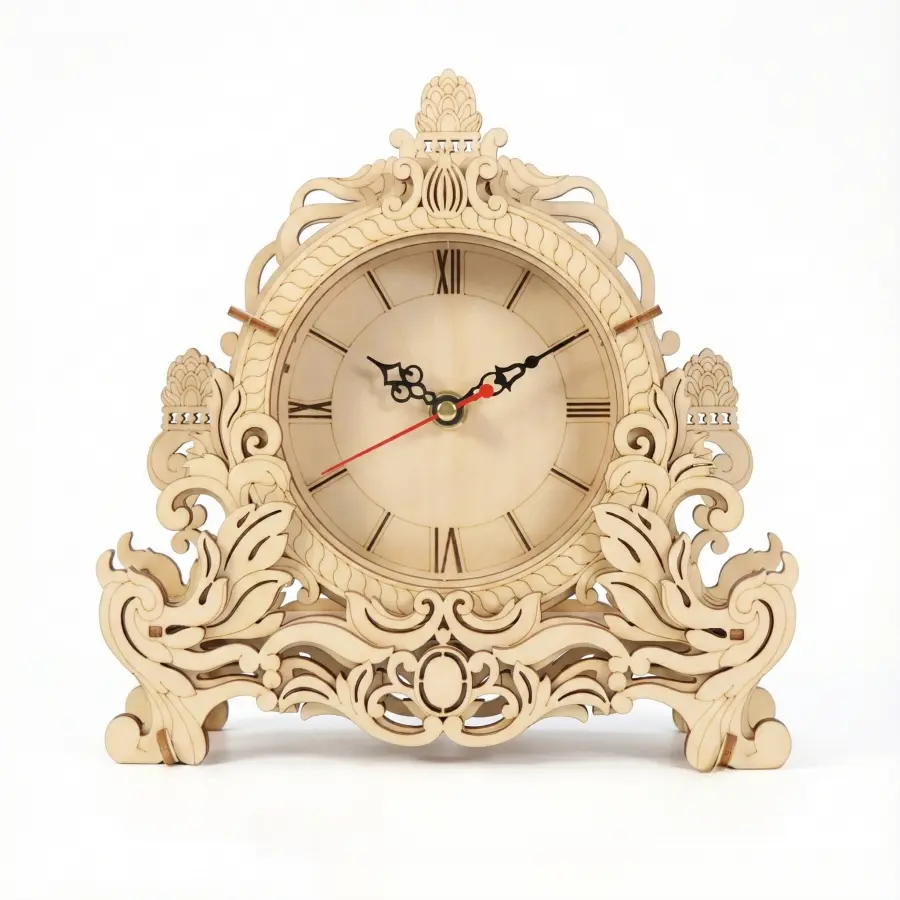
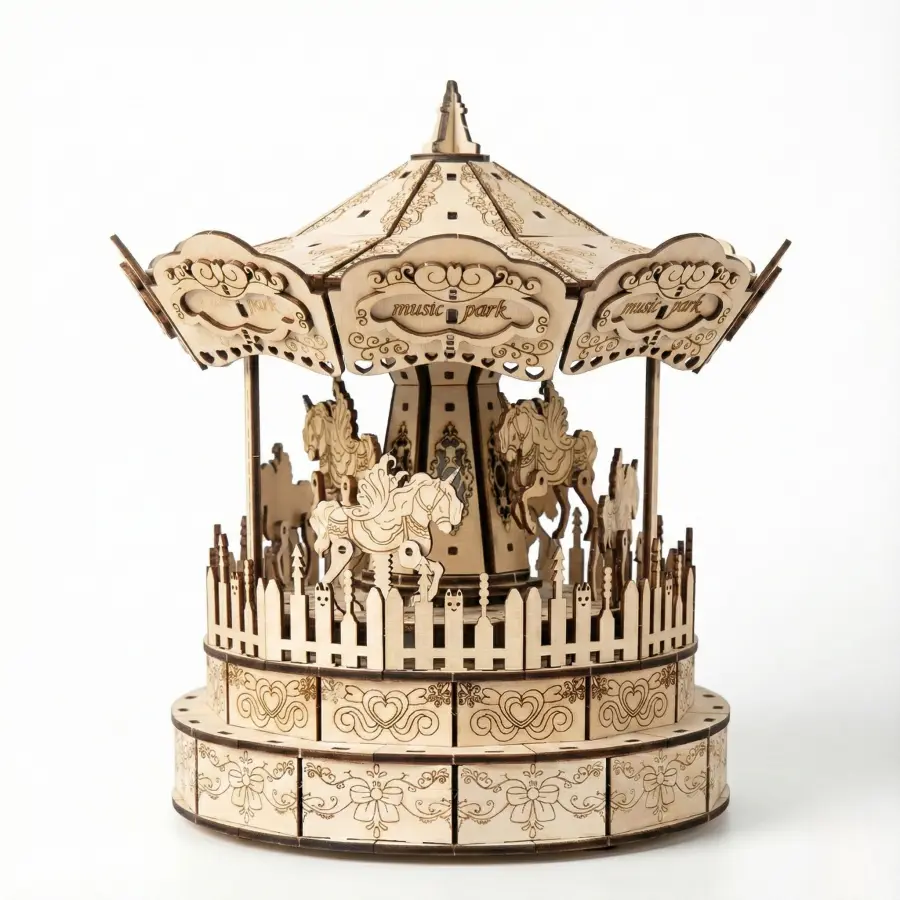
Scenario 3: 'Functional Art' (Music Boxes, Clocks, Organizers)
Puzzles like the 3D Wooden Carousel Music Box or 3D Wooden Puzzle Clock need to withstand handling. Action Plan: Reinforce all moving part axes and weight-bearing joints with wood glue. Let the glue cure fully (24 hours) before testing the function. For clock hands or music box mechanisms, avoid gluing the moving parts themselves!
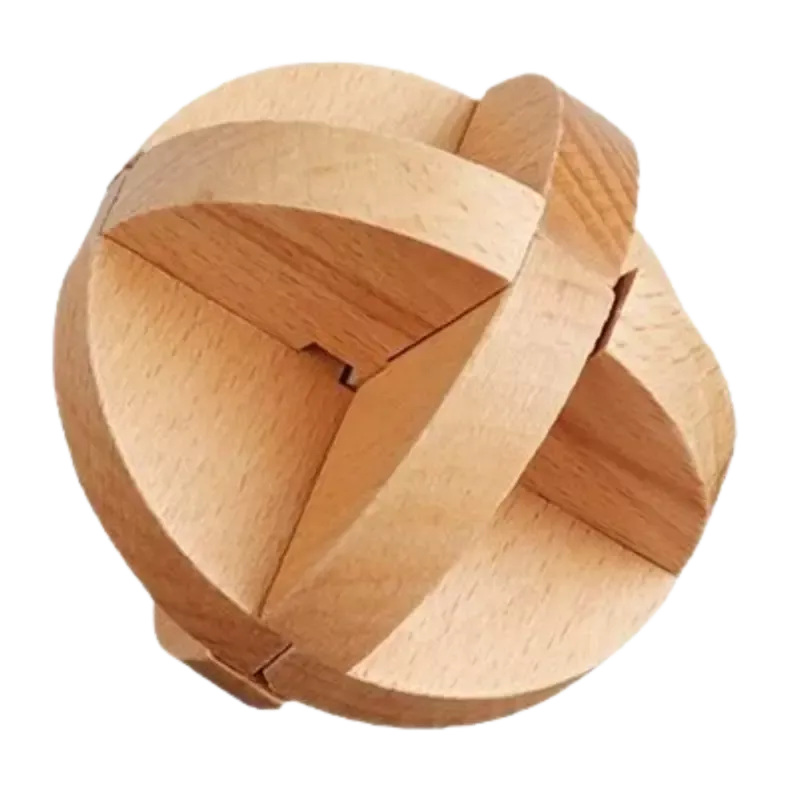
Scenario 4: 'Practice Makes Perfect' (Smaller, Affordable Test Sets)
This is the smart first step. Use a 3D Wooden Tanker Truck or Luban Sphere to experiment. Try both a thin coat of puzzle glue on one piece and a dab of wood glue on another. See how they dry. This $20 practice run builds the confidence you need for your $60 heirloom project.