Now that you know your ring type, let's get into the assembly. We'll focus on the 4-band ring, as it's the most common. The key is to form a figure-eight with two bands first. Don't rush; loose is good at this stage.
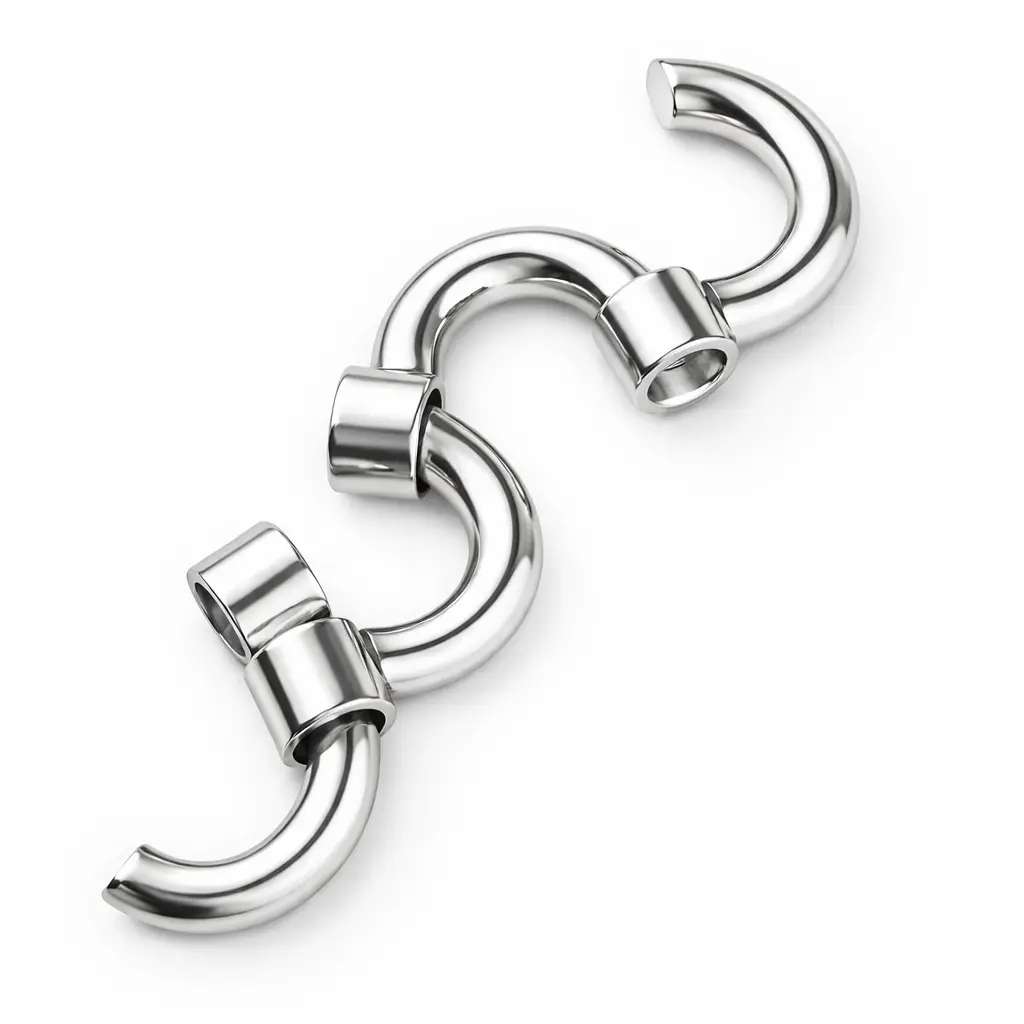
Step 1: Form the Figure-Eight
Take two bands that have grooves or notches. Hold them perpendicular to each other and twist one so they interlock in a figure-eight shape. You should hear a gentle click when they snap into place. If you don't, wiggle them slightly—they should move smoothly.

Embedded GIF: Watch the figure-eight formation in a loop.
This step is crucial. As one Reddit user said, 'I kept skipping the figure-eight and then wondered why nothing fit.' Take your time here.
Step 2: Add the Third Band
Slide the third band through the loops of the figure-eight. Align any grooves so they face the correct direction. You might need to rotate the bands slightly to make room. Feel for the click as it slots into place.
Step 3: Insert the Fourth Band
This is often the trickiest part. Gently maneuver the fourth band through the existing structure, ensuring all grooves align. Use a gentle wiggle motion—never force it. If it won't go, backtrack to step 1 and ensure the figure-eight is correct.
Step 4: Final Adjustments
Once all bands are in, gently tighten the assembly by pressing the bands together evenly. You should feel the ring become solid and hear a satisfying final click. If it's still loose, double-check the groove alignment.
For 6-band and 8-band rings, the process is similar but with more layers. Start with the innermost bands and work outward, always ensuring grooves align. Refer to our step-by-step puzzle ring solution guide for detailed variations.
Closing Push: Take a deep breath. If you get stuck, walk away for five minutes—your hands will remember the motion better when you come back. You'll feel that satisfying final click.