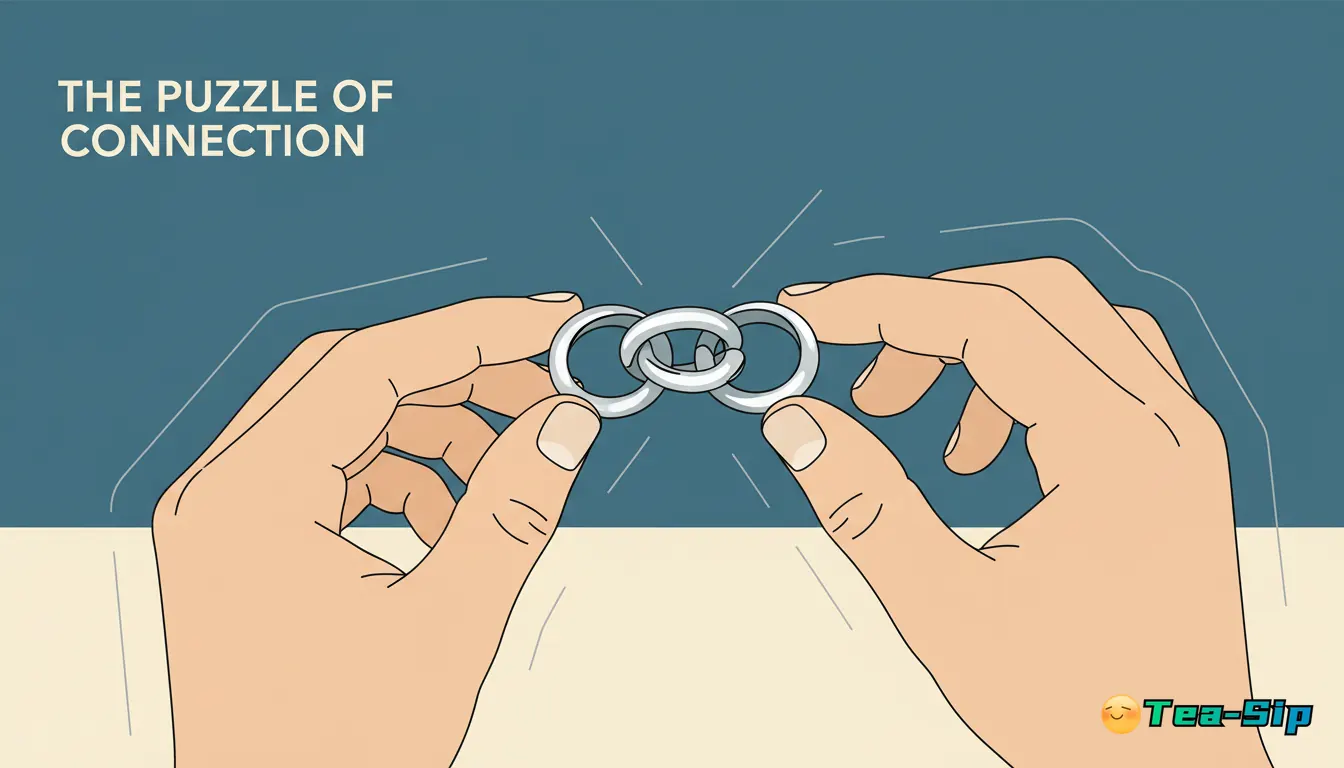
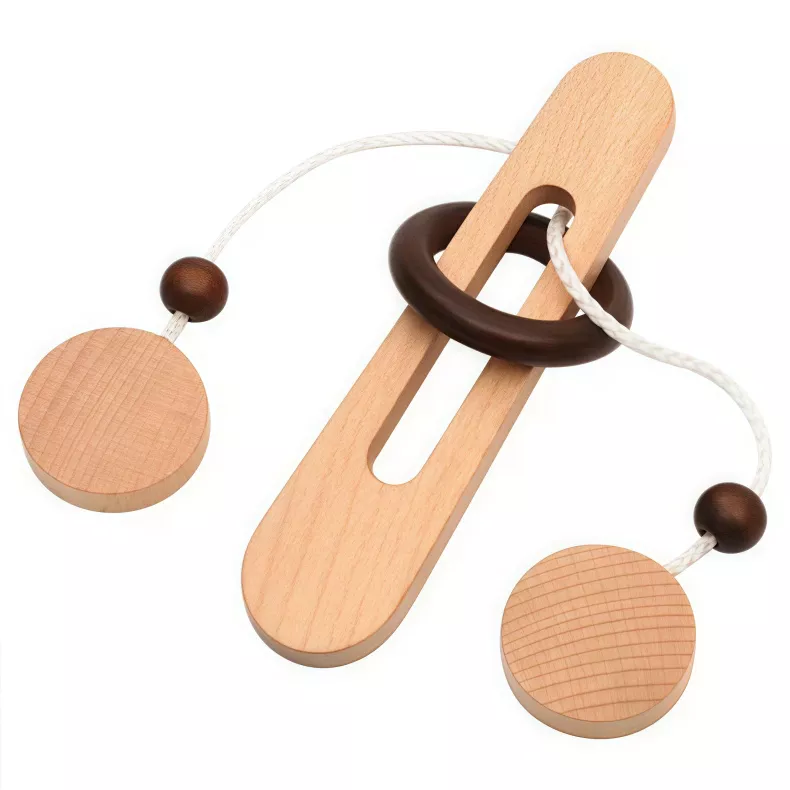
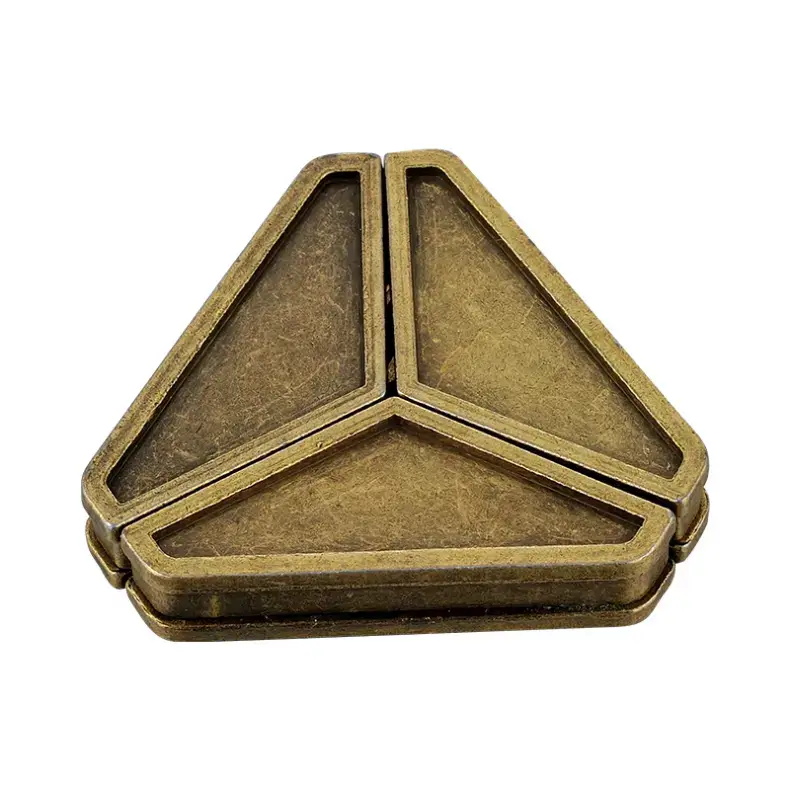
Let's use the most common type as our example. Imagine I'm across the table from you. We'll use a 'diamond window' method that works for most standard 4-band rings.
Step 1: The Keystone. Find the one band that's slightly different—it may have a hallmark, a beveled edge, or a subtle kink. This is Band A. Hold it vertically between your thumb and forefinger like a 'O'.
Step 2: Create the Stage. Take Band B. Hook it onto Band A so it sits horizontally, forming a 'plus sign' (+) or a loose cross. Let it rest in the natural groove of Band A. It should sit about halfway down.
Step 3: Form the Diamond. Here's where people get lost. Take Band C. Slide it onto the assembly diagonally, from the top-left of the cross to the bottom-right. You are not forcing it; you're letting it rest in the grooves of both A and B. You should now see a diamond-shaped hole in the center. If you see a square, rotate Band C 90 degrees.
Step 4: The Locking Band. Finally, take Band D. This one slides in from the opposite diagonal (top-right to bottom-left). This is the band that applies the locking pressure. Gently push it down. You'll feel it engage. Now, with all bands supported in one hand, use your other hand to gently squeeze the assembly from the sides and gently wiggle it. The bands should snap back together into a solid, feels snug ring.
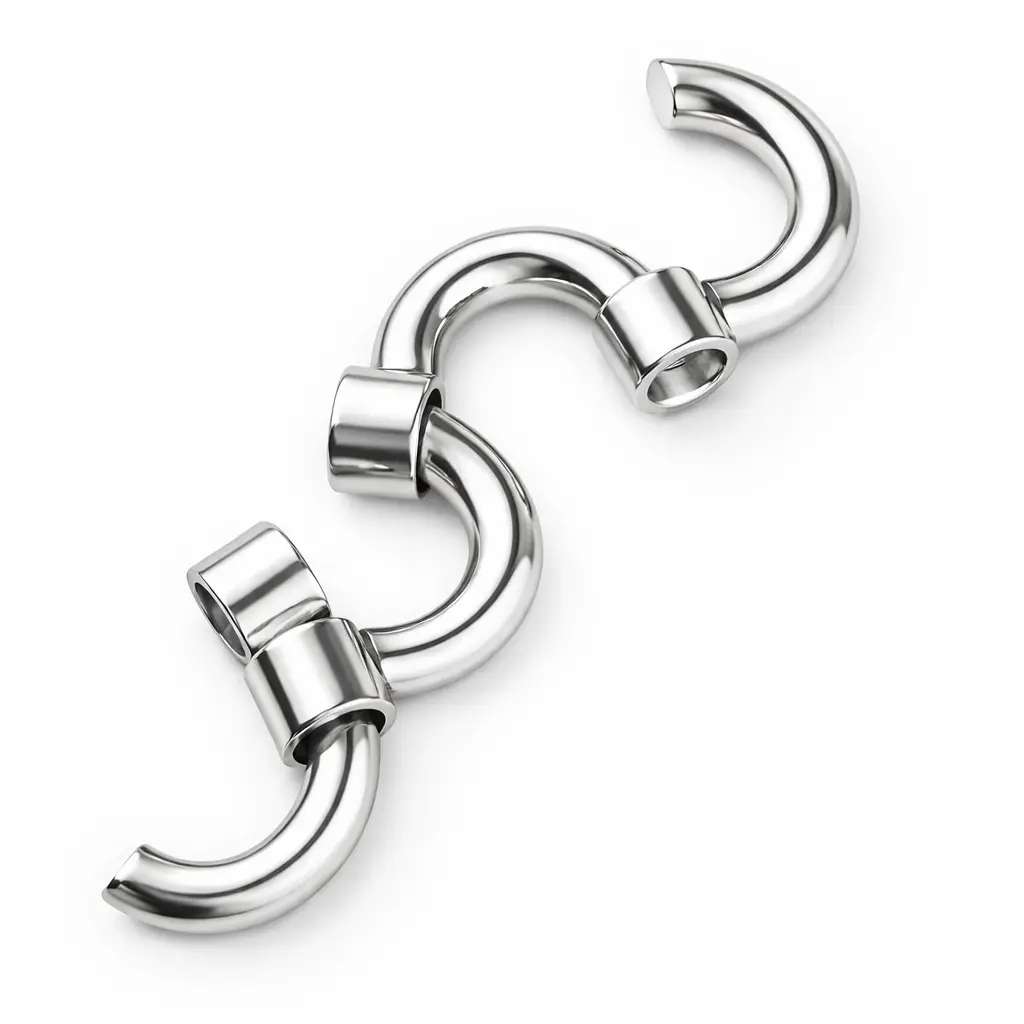
Embedded Video Reference: Watch this short, top-down video. Notice the hands are flat on the table, not shaky. See the diamond form, and listen for the soft click. If your ring has more bands, the principle is similar: build a stable core, then add layers. For more universal techniques, read how to solve any puzzle ring step-by-step.